Difference between revisions of "Heatsink Retrofitting Guide"
m |
m |
||
| Line 69: | Line 69: | ||
# Press the hotbar key to bring the module into the world | # Press the hotbar key to bring the module into the world | ||
# Manipulate the new generator into place, and click the left mouse button | # Manipulate the new generator into place, and click the left mouse button | ||
# Press the | # Press the <b>'.'</b> key to exit easy-build mode | ||
</div> | </div> | ||
Revision as of 17:22, 4 April 2022
With the introduction of the new heat mechanics, the cooling system of many spaceships will become outdated and incapable of sustaining maximum power draw. While these ships will still be able to operate with reduced performance characteristics, they will require a refitting in order to return to expected operating performance.
Overview of the New Heat Mechanics
While the new mechanics bring several new features to power and heat management, they are not so radically different as to require a complete redesign for the majority of ships. Ships that have been designed with sufficient power generation and heat dispersion will see limited effects, while those ships that have been designed on the bleeding edge may require significant overhaul to their cooling systems and power plants. Power plants designed with a reliance on enhancers to provide increased fueling from fuel rod chambers will see significant performance loss, as enhancers no longer affect fuel rod chambers. Instead, enhancers must be attached directly to the generator unit to apply their effect.
Power Generation
- Enhancers: Enhancers can be used to boost the maximum output of electric current, at +500/+750/+1,000 for tiers 1-3 respectively. Enhancers only affect the generator unit to which they are attached.
- Electricity Cap: Generators have a maximum bonus electric output of +1,000, meaning that stacking more enhancers on a single generator quickly leads to diminishing returns - or no return at all.
- Overheating: Generators which are insufficiently cooled and reach their maximum heat capacity will now overheat and throttle to 5% output until the heat has been managed.
Ship Weapons
- Pipe Connections: All mounted weapons will need to be piped into the ship's pipe network, as they now produce significantly more heat which must be dissipated through radiators for optimal usage.
- Energy Consumption: Most ship weapons have had their energy consumption and heat output adjusted slightly. You can see the new data here.
Heat
- Adjacency: Generators and fuel rod chambers which are placed near to each other will increase the maximum heat output of those devices. See this example for reference.
- Enhancement Effects: Enhanced generators will produce significantly more heat than their unenhanced counterparts. See this chart for reference.
- YOLOL: Many devices now have extra device fields to monitor the production and storage of heat.
Cooling
- Coolant Cells: Coolant cells are now primarily intended for short bursts of extreme cooling, and should not be relied on for extended usage.
- Heatsinks: Heatsinks are a device designed for the rapid storage and transfer of heat away from sensitive devices.
- Radiator Transfer Rate: Devices now have a limited rate at which they can transfer heat directly to a radiator. Heatsinks should be used to connect a device to a radiator instead.
- Natural Dissipation: Devices have a limited capability to disperse heat on their own, meaning that low-power devices and ships do not necessarily need a complex cooling system to operate.
Retrofitting Guides
Most ships will follow the same basic steps to upgrade the cooling system, but some specific ships (purpose-built fighters, haulers, etcetera) may require a more complex retrofit to continue operating with unabated function. While simple, the Laborer Module serves as a good example for learning how to retrofit a ship.
Laborer Module
Remove the Cooling Rack
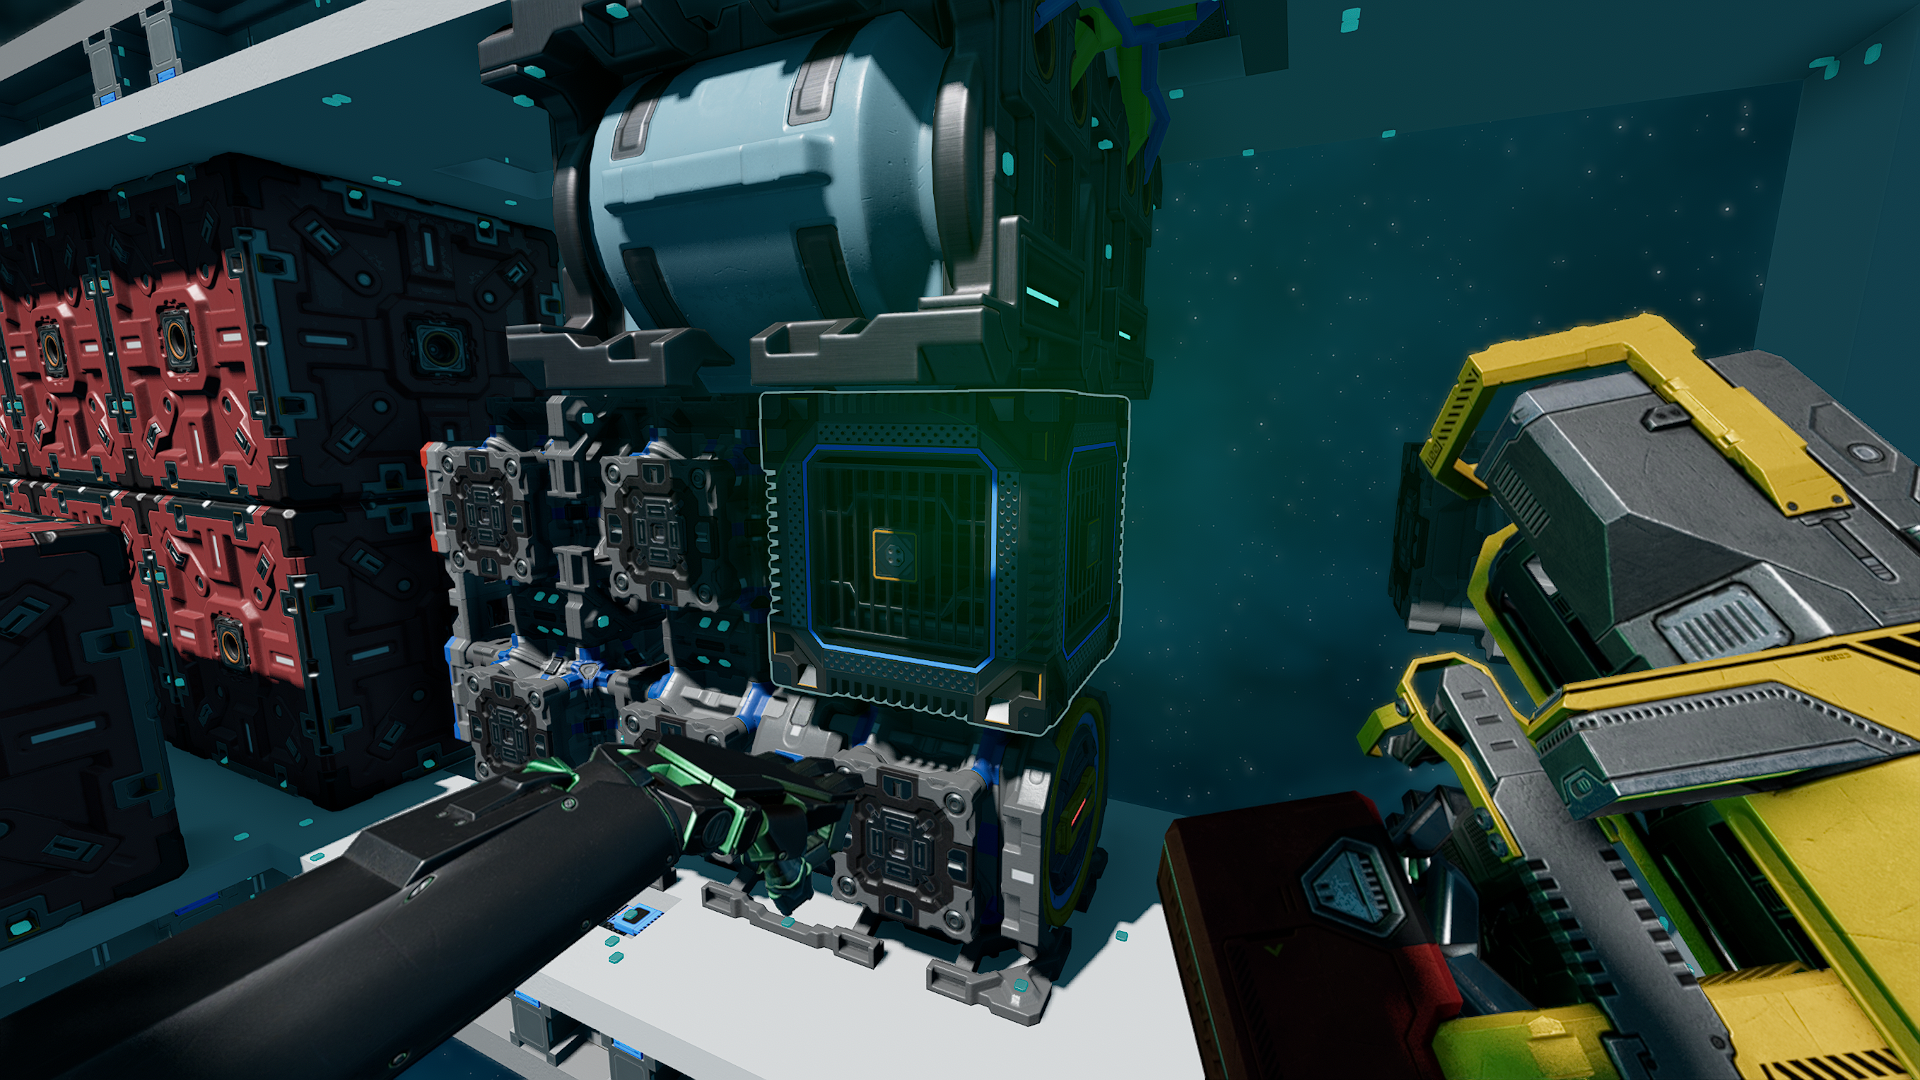
Place the Heat Sink
- Snapping: If you're having trouble with the heatsink not snapping, make sure to press 'C' to toggle snapping on.
Secure the Heat Sink
Alternative Step: Use Easy-Build Mode to Swap the Generator Unit
- Bring your ship into the easy-build hall and disembark. Easy-build mode should activate after a moment, but you can check the chat log for errors if it isn't
- Point at the generator module so that it is highlighted in green, and right click to remove it
- Drag the new generator module from your station storage onto your hotbar
- Press the hotbar key to bring the module into the world
- Manipulate the new generator into place, and click the left mouse button
- Press the '.' key to exit easy-build mode
Add Displays
Set Device Fields
For the first panel:
- PanelValue ⟶ HeatSinkStoredHeat
- PanelMaxValue ⟶ HeatSinkMaxStoredHeat
• You'll also need to set the value of this field to 15000
For the second panel:
- PanelValue ⟶ HeatTransferRate
- PanelMaxValue ⟶ HeatTransferRateLimit
